
Armadillo SiltShield installation guideIntroductionBefore installation, ensure all work is carried out in accordance with site-specific policies, environmental management plans, and relevant health and safety (EHS) practices. Always use appropriate PPE and follow best practices for manual handling and working around drainage systems. Kit includes
Installation videoOpening the gullyHinge open the gully grating past 90 degrees to prevent accidental closure. Ensure the gully is clear of debris before installing the SiltShield system. 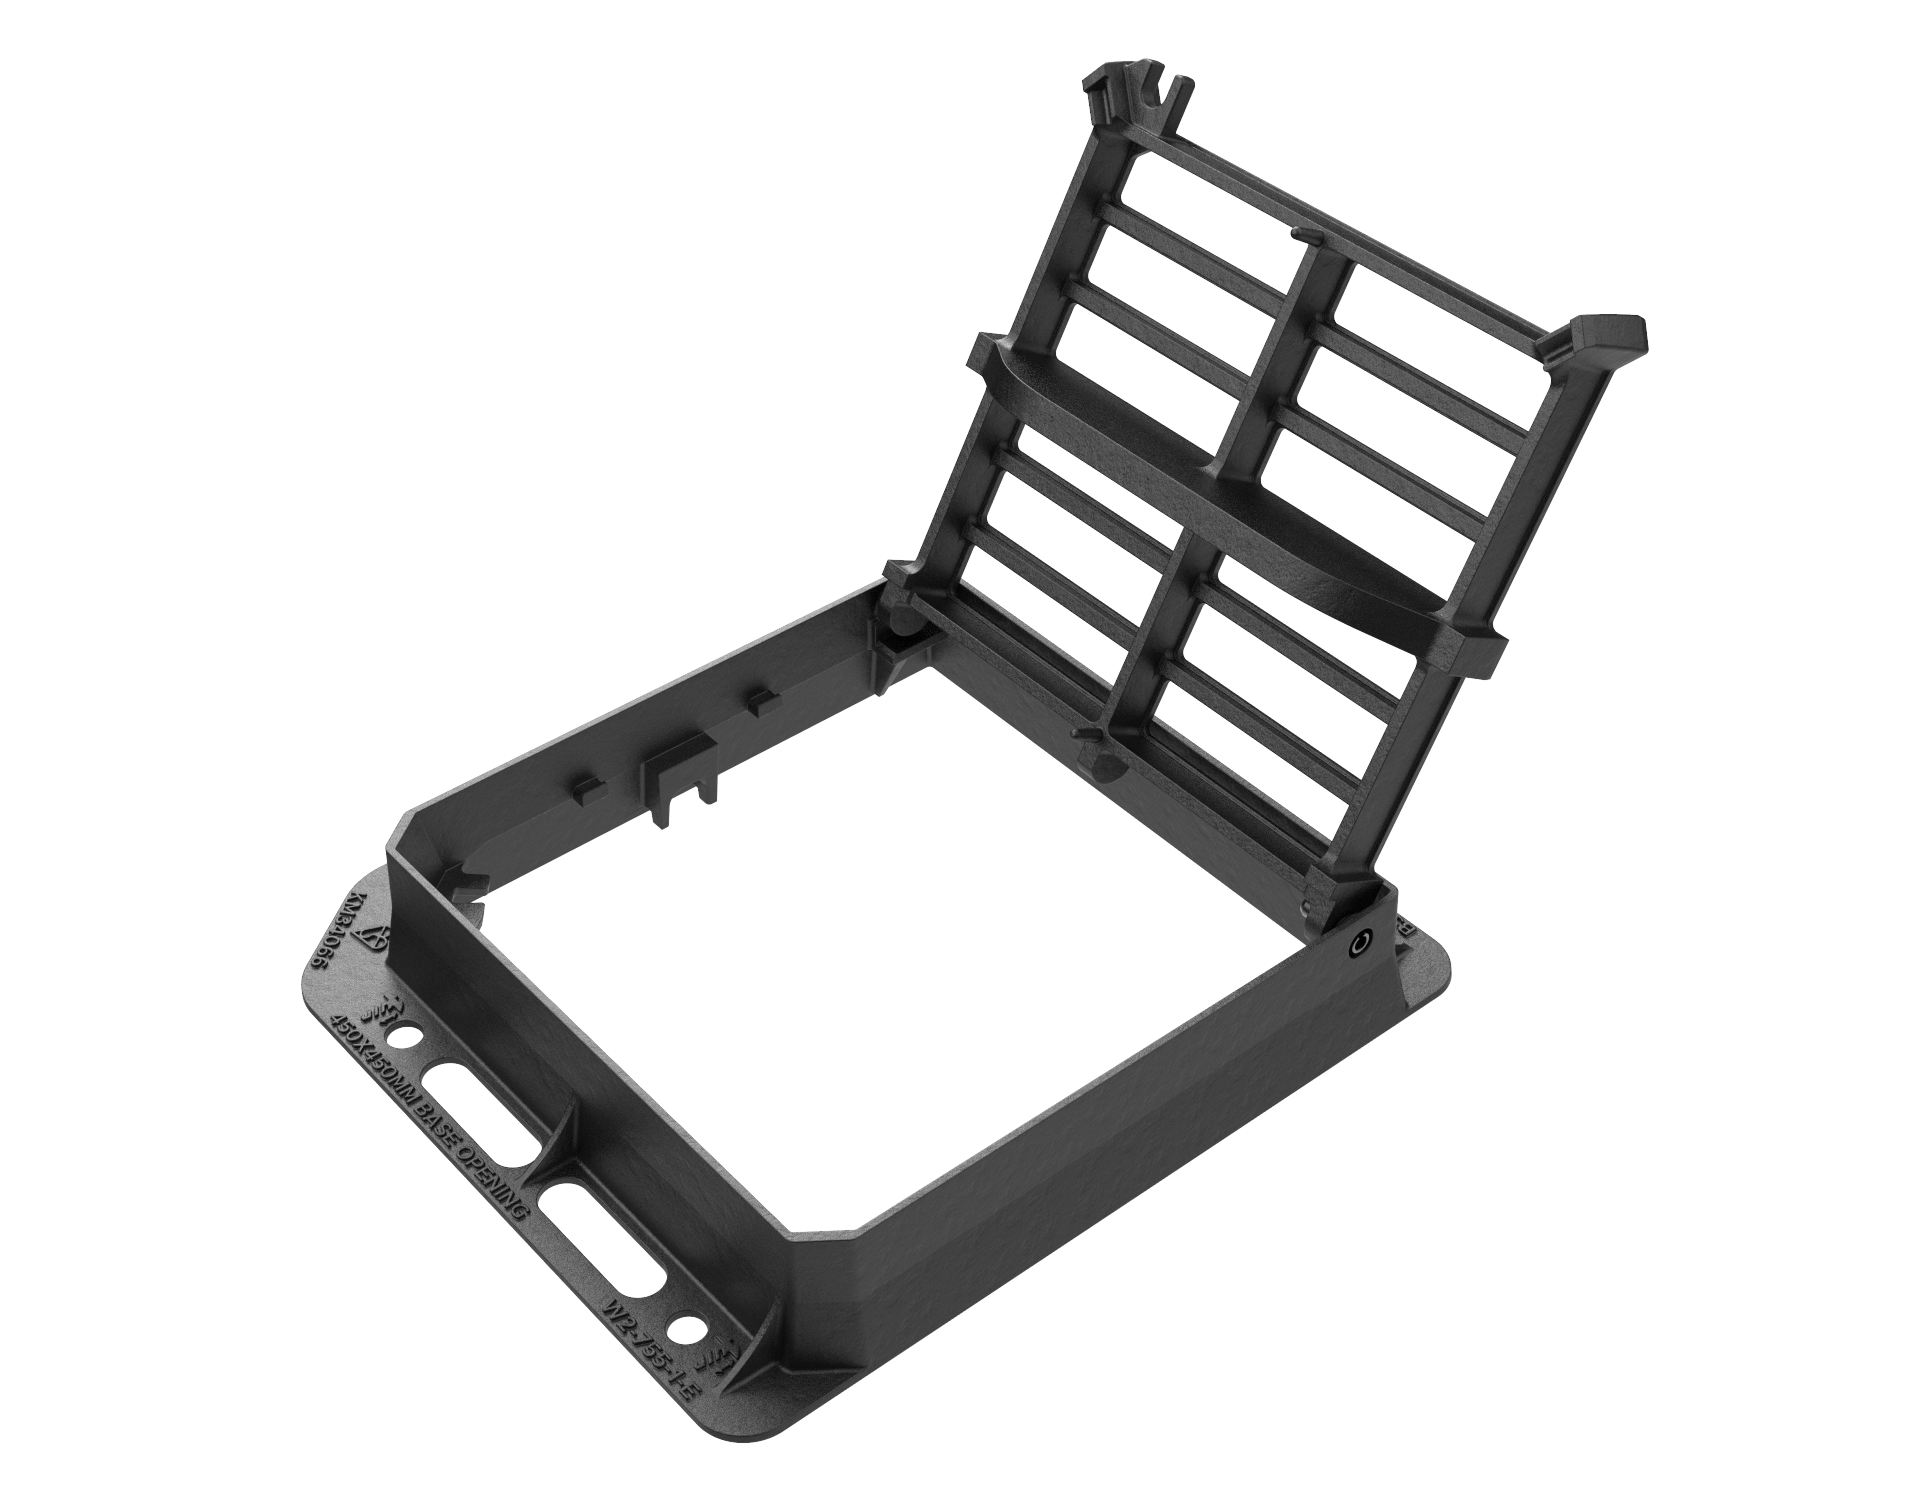
Positioning the insert plateSlide the insert plate into its closed position so that it can clear the gully’s internal features as it is lowered into the frame. 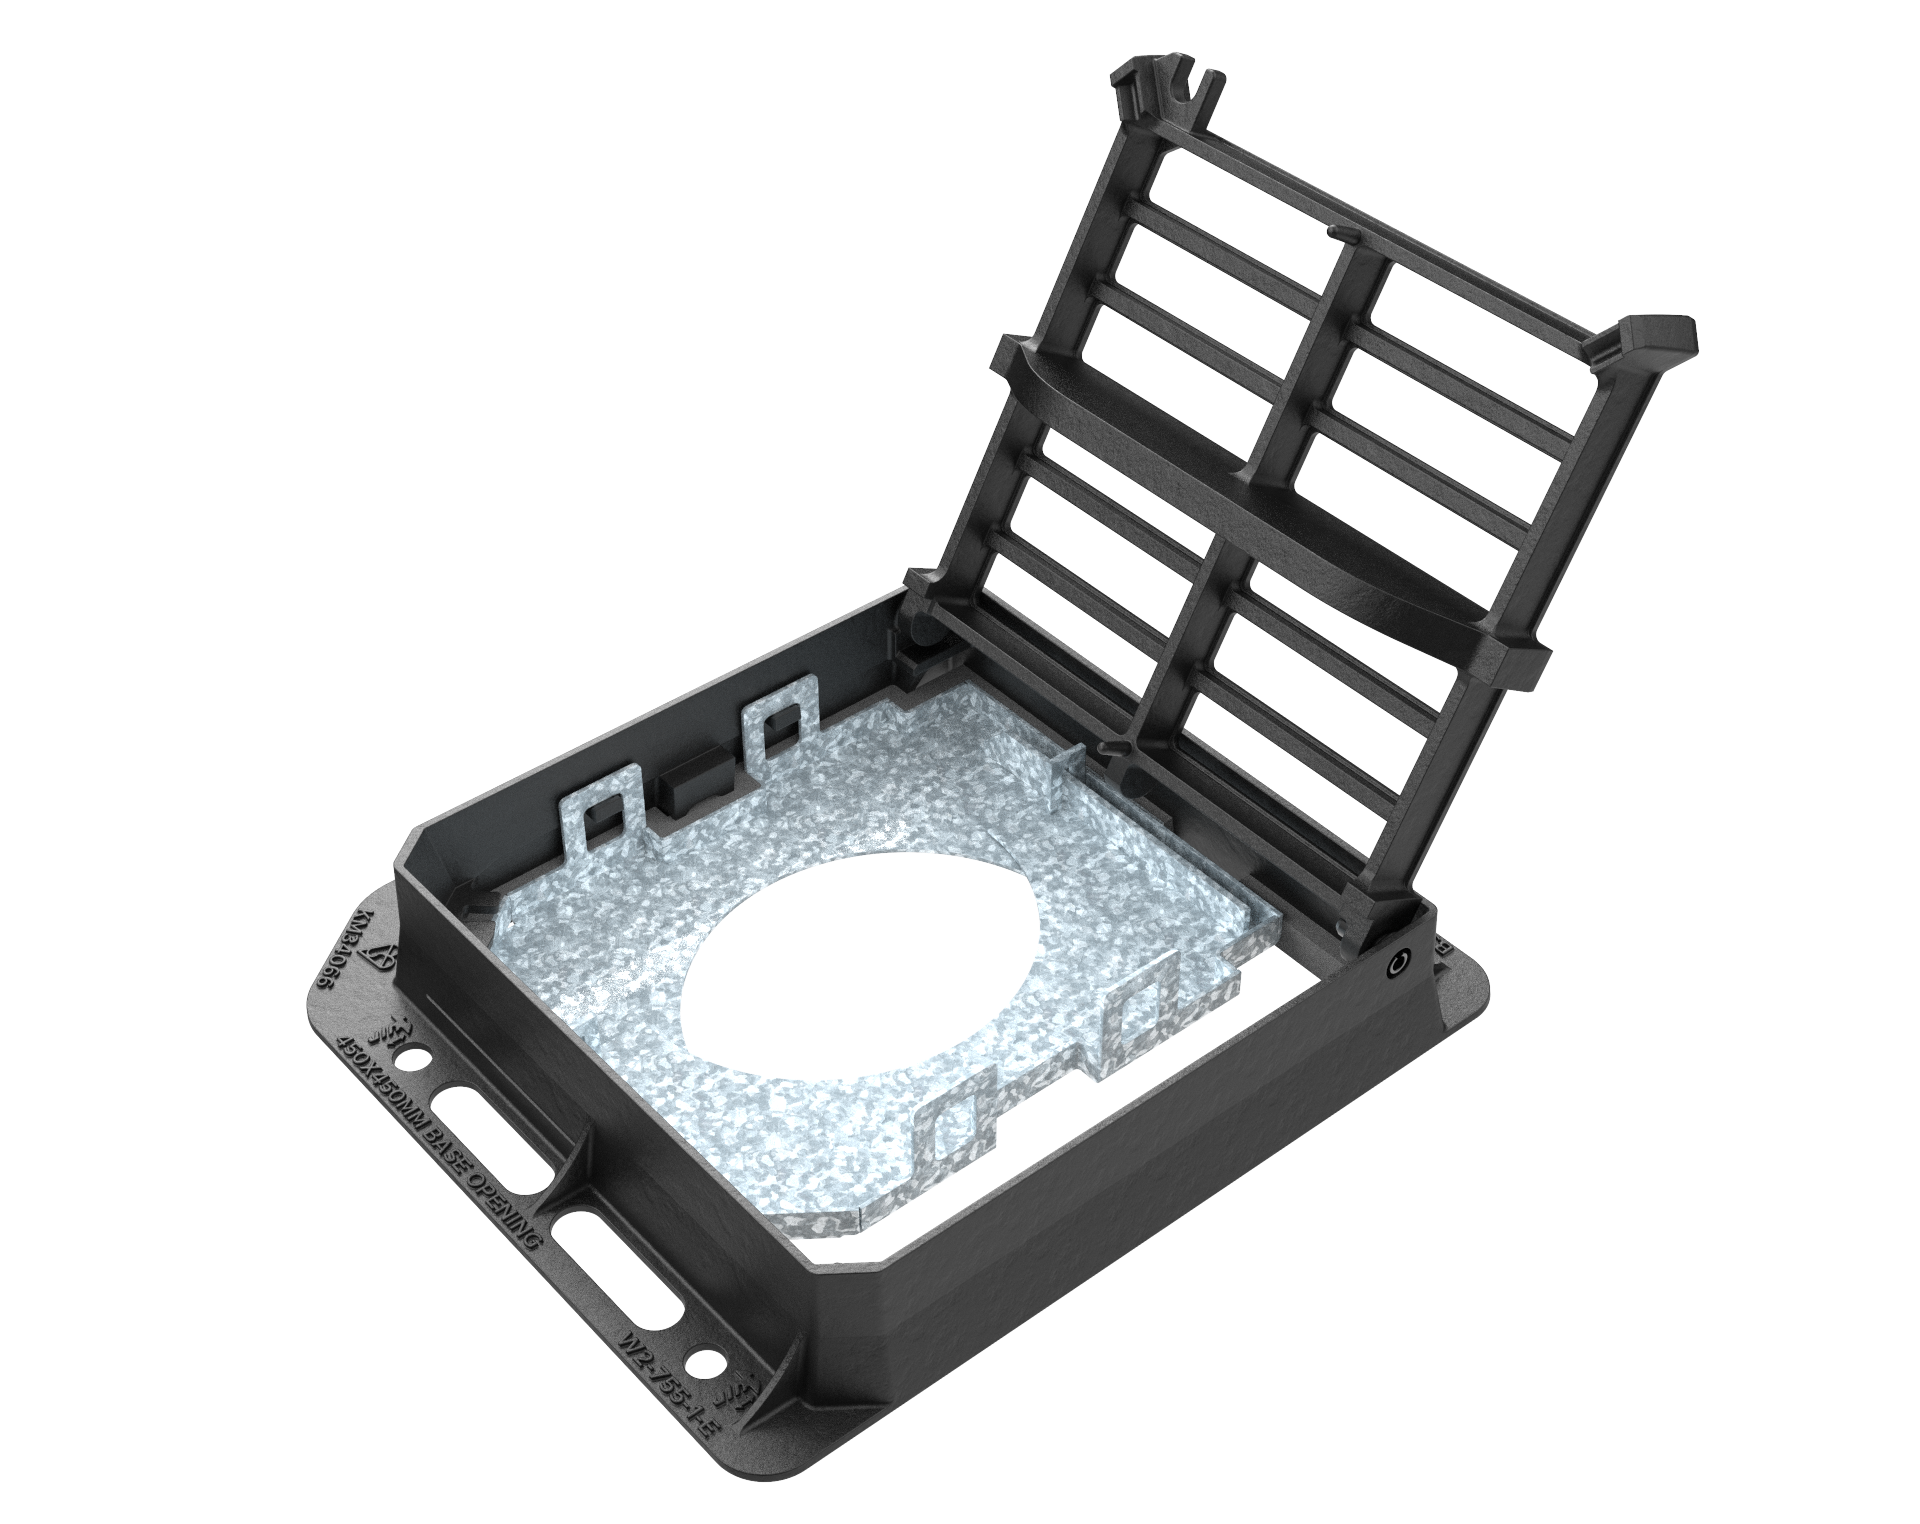
Securing the insert plateSlide extend the insert plate outward until the steel hanger hooks securely engage onto the designated receiving points inside the frame on both sides. 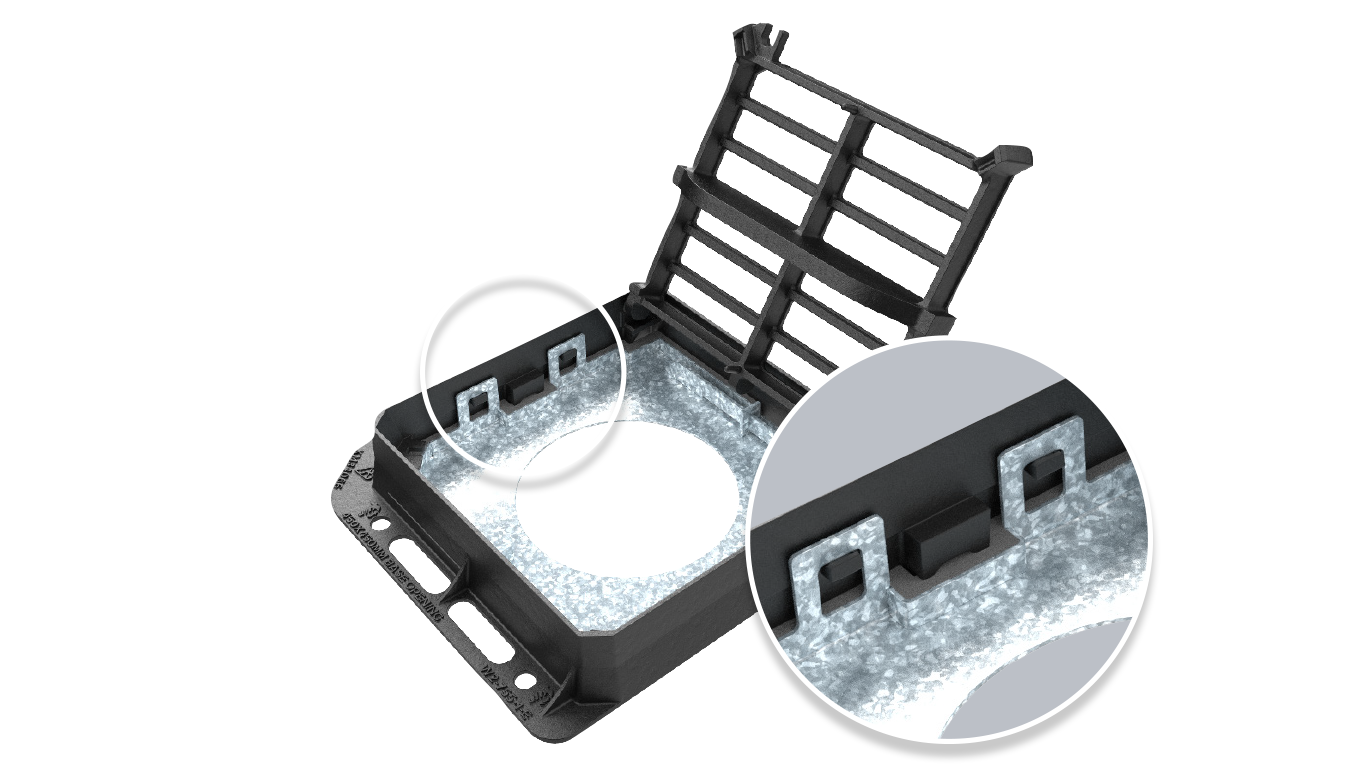
Installing the bucket & filtration bagPlace the filtration bag inside the bucket, wrapping the elastic seam over the rim edge. Lower the bucket, with the bag fitted, into the gully using lifting keys. 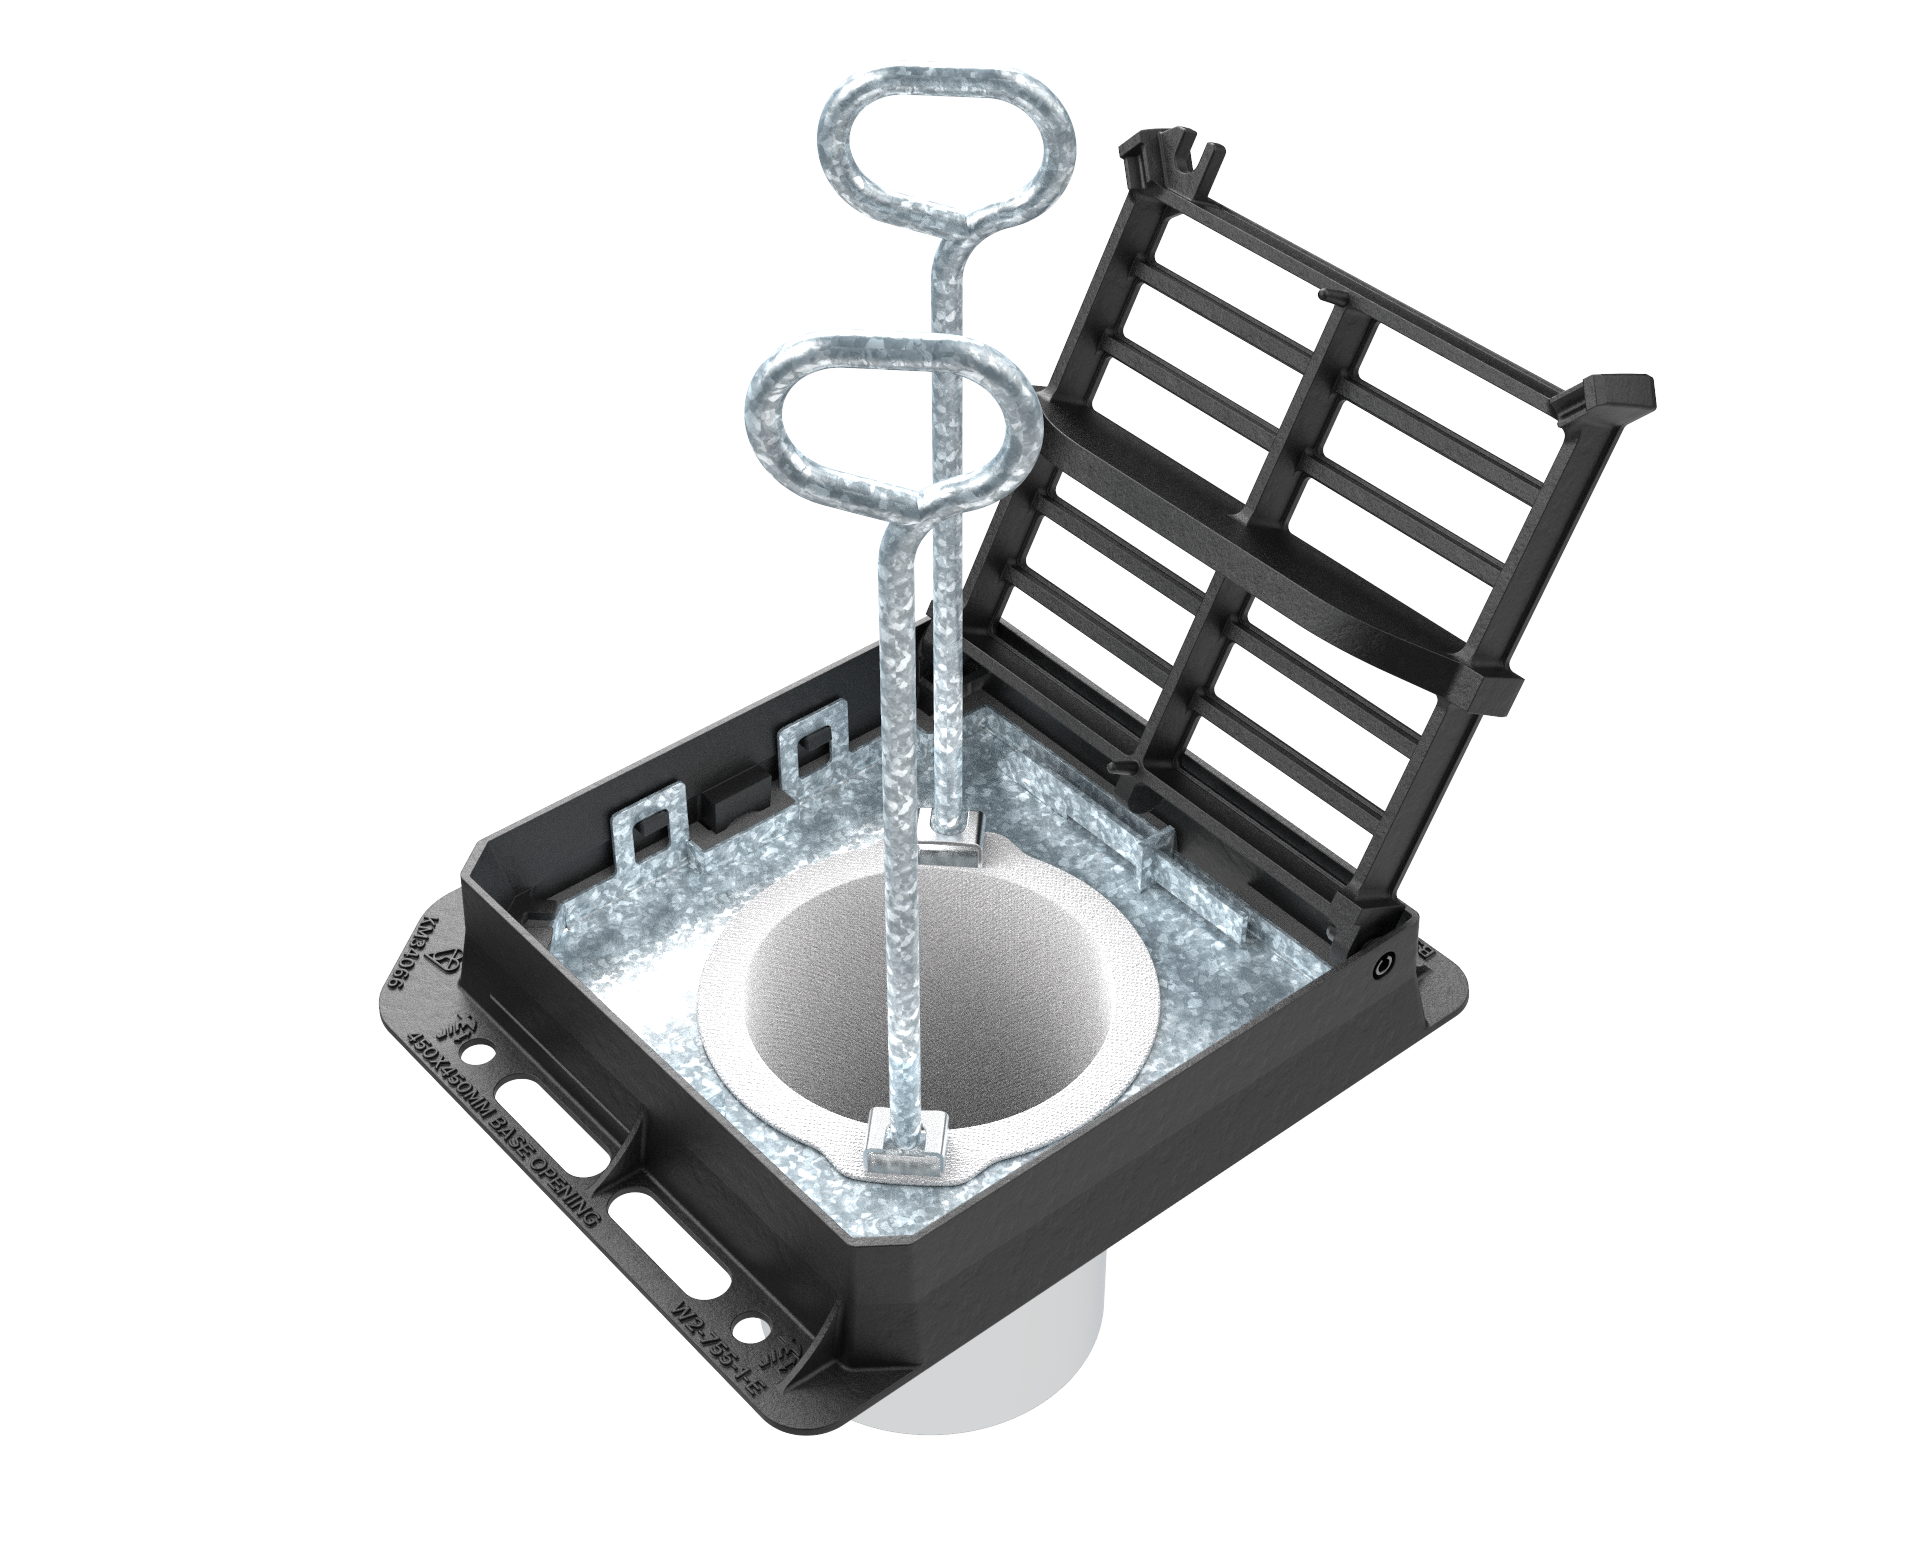
Closing the gully gratingCarefully close the hinged gully grating, ensuring it rests securely in place and sits flush with the frame’s top surface. 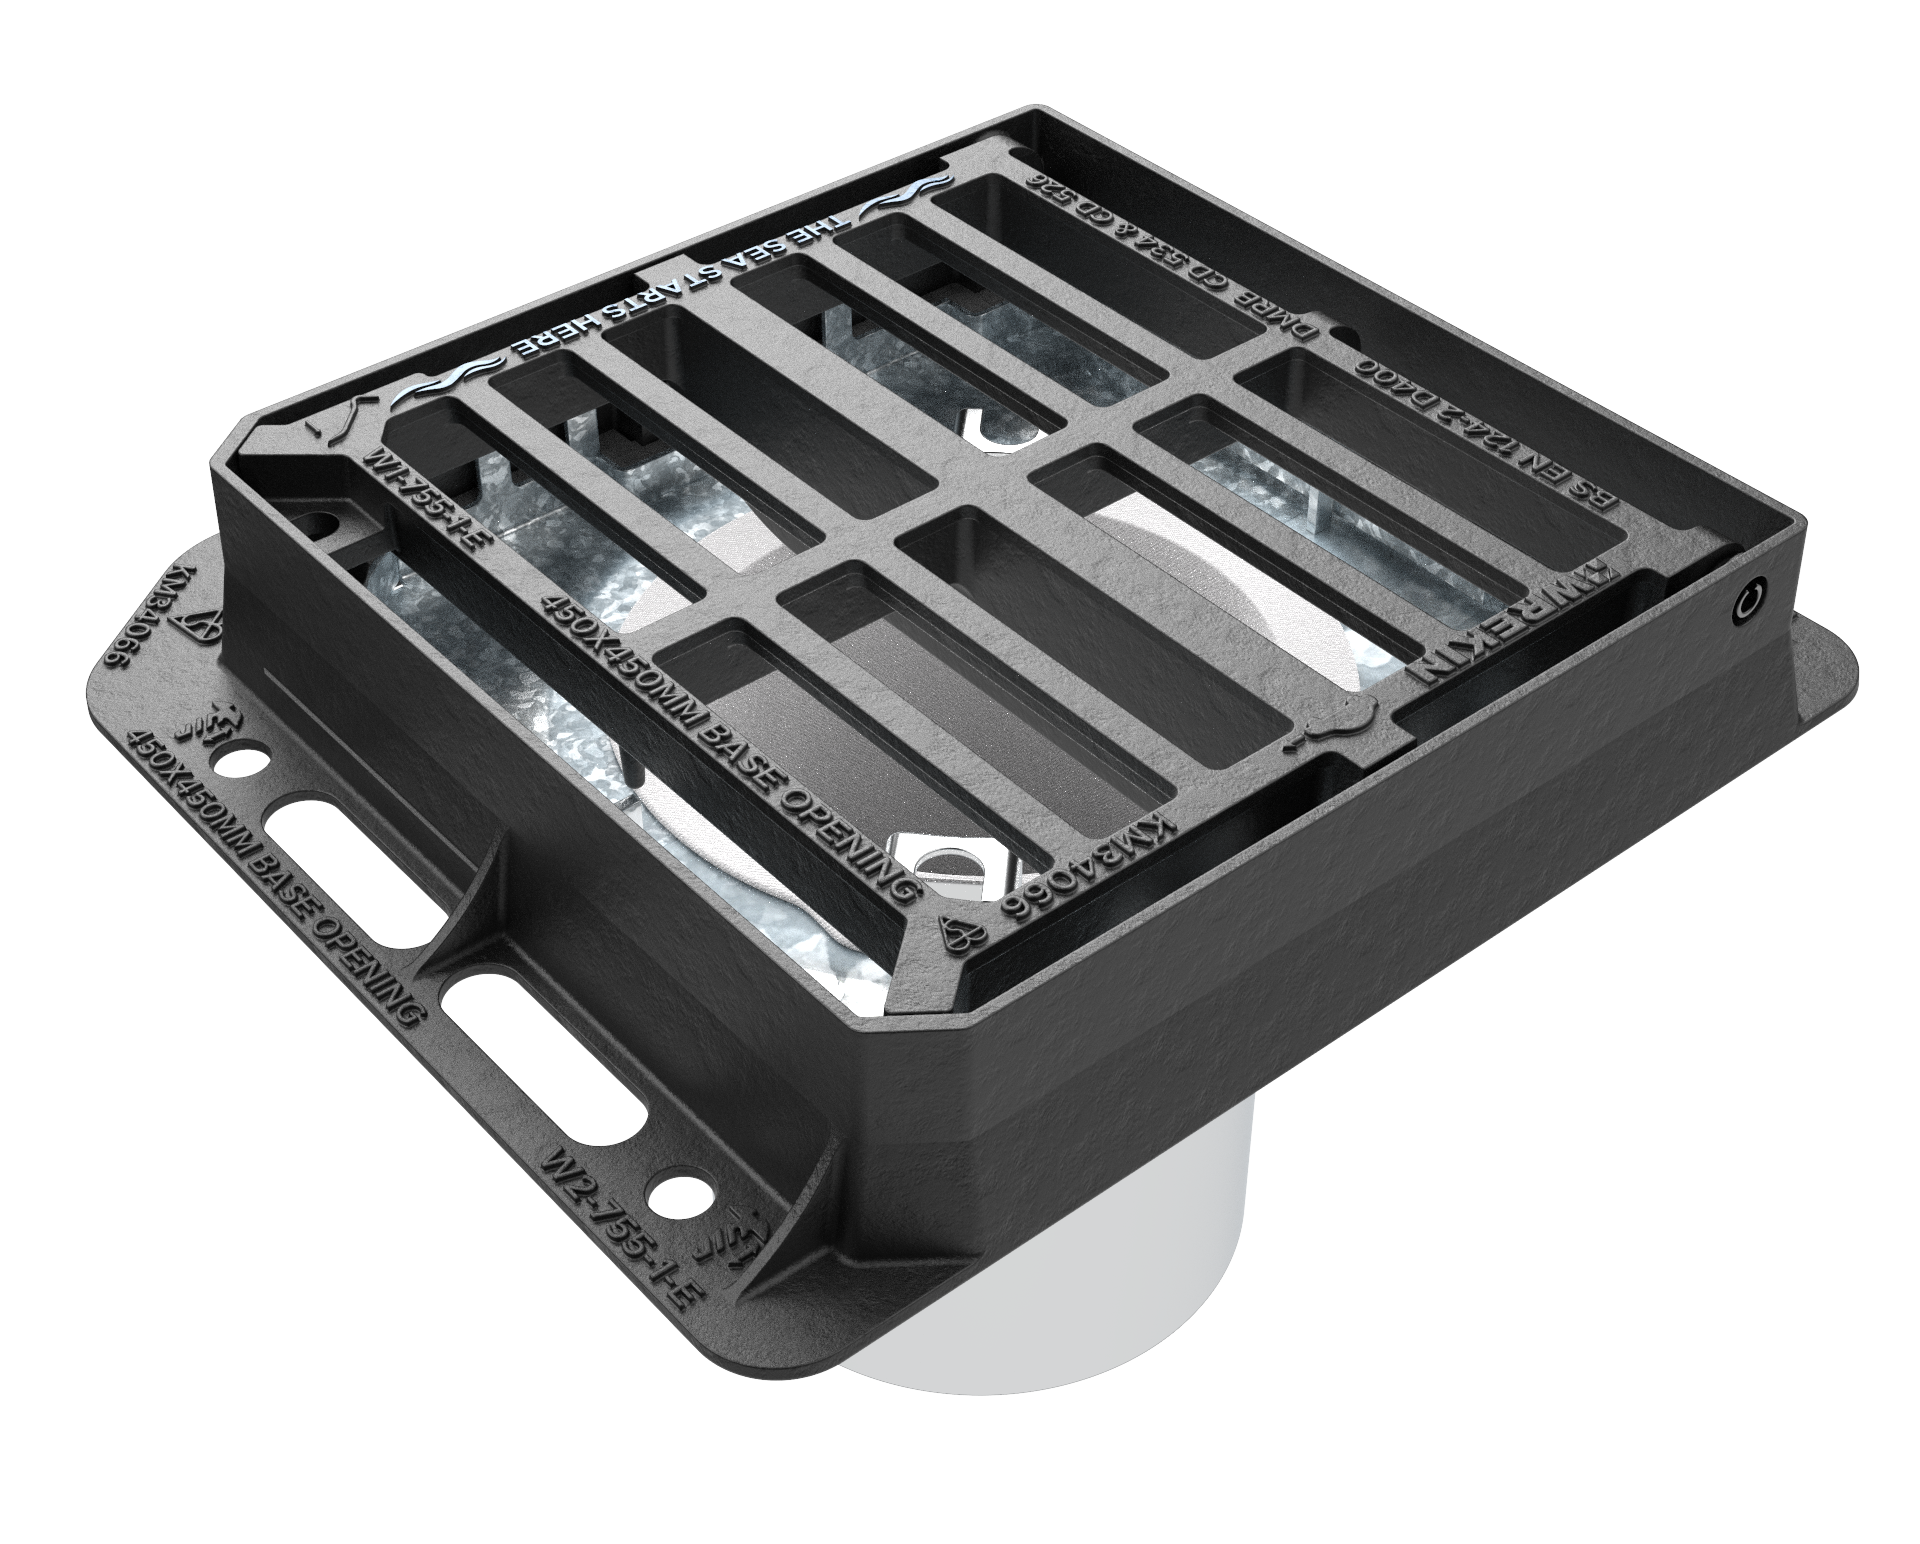
Silt removal & maintenanceMaintenance frequency depends on silt accumulation- empty when nearly full. Use long-handled lifting keys to remove the bucket safely, empty collected debris into an appropriate container, and reinsert securely. 
Related products
| |||||||||