
Manhole cover with flowable mortar installation guideStep 1 - PrepareEnsure:
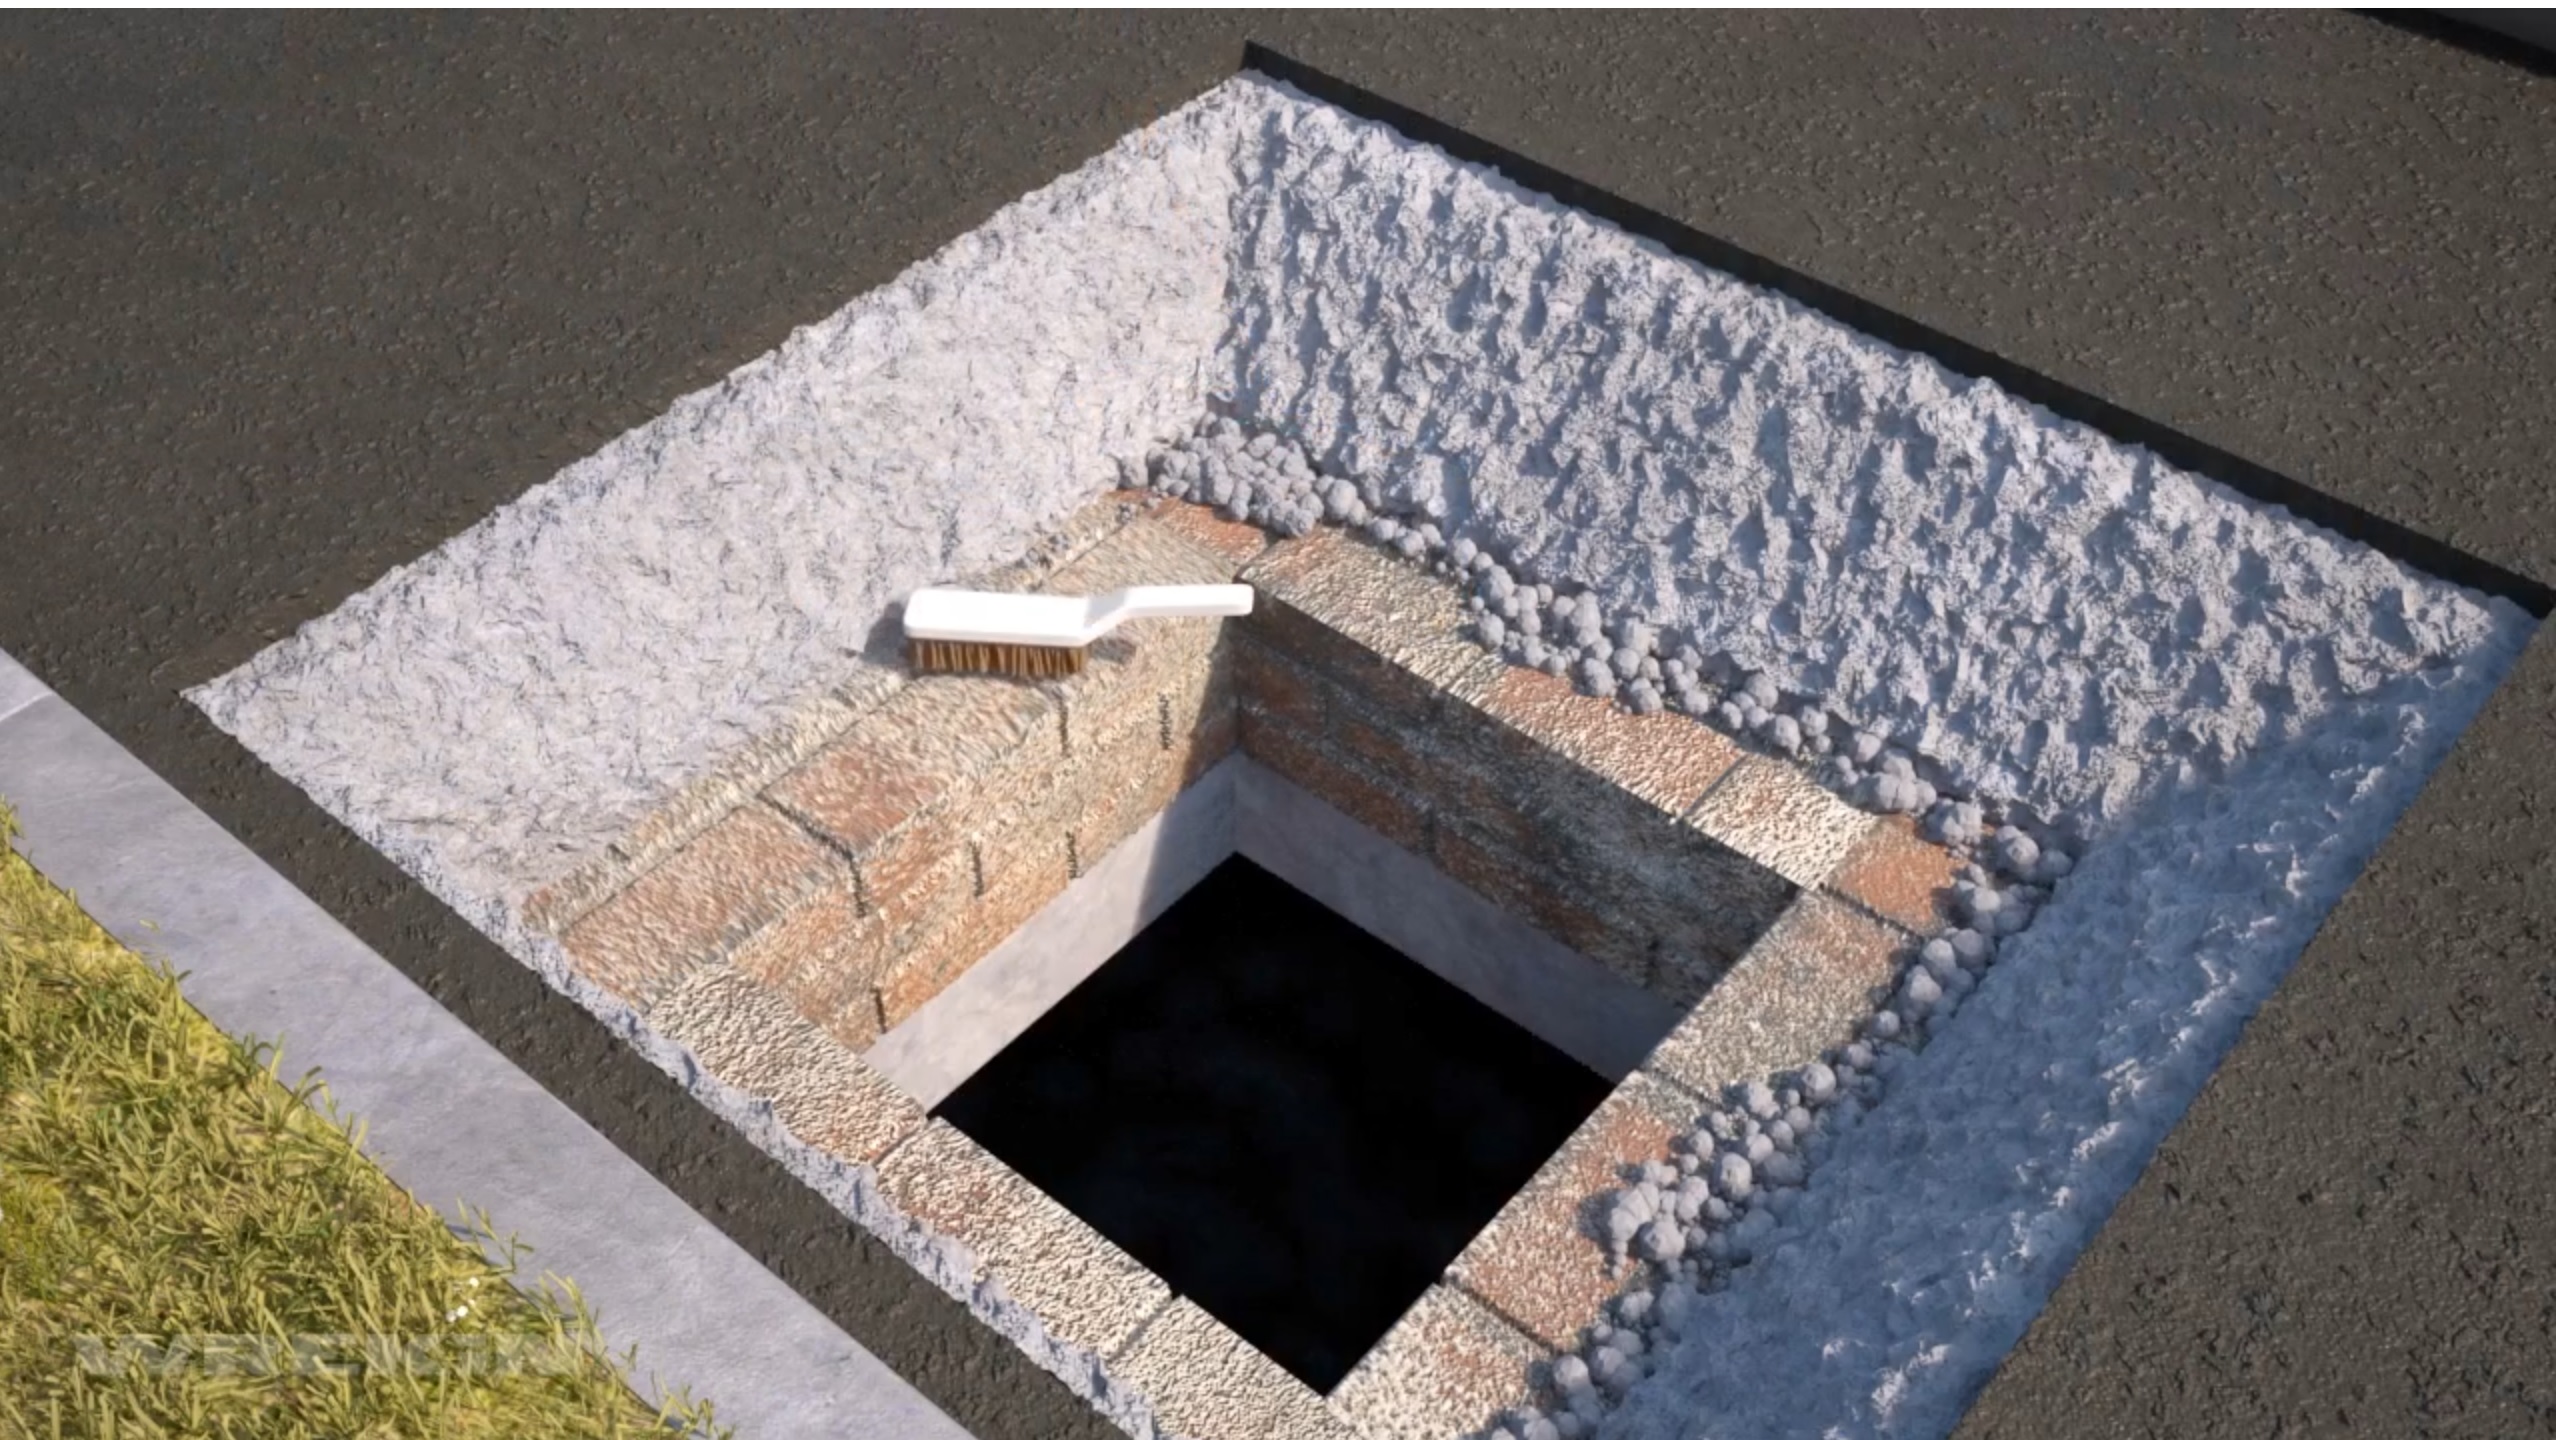
Step 2 - MeasureDepth to the chamber from the base of the frame:
Note: A minimum of 10mm bedding mortar is required under the frame. Step 3 - Remove cover and utilise ScrewliftRemove all covers from the frame and insert the plastic Screwlift bushes into the flange corners from the underside. 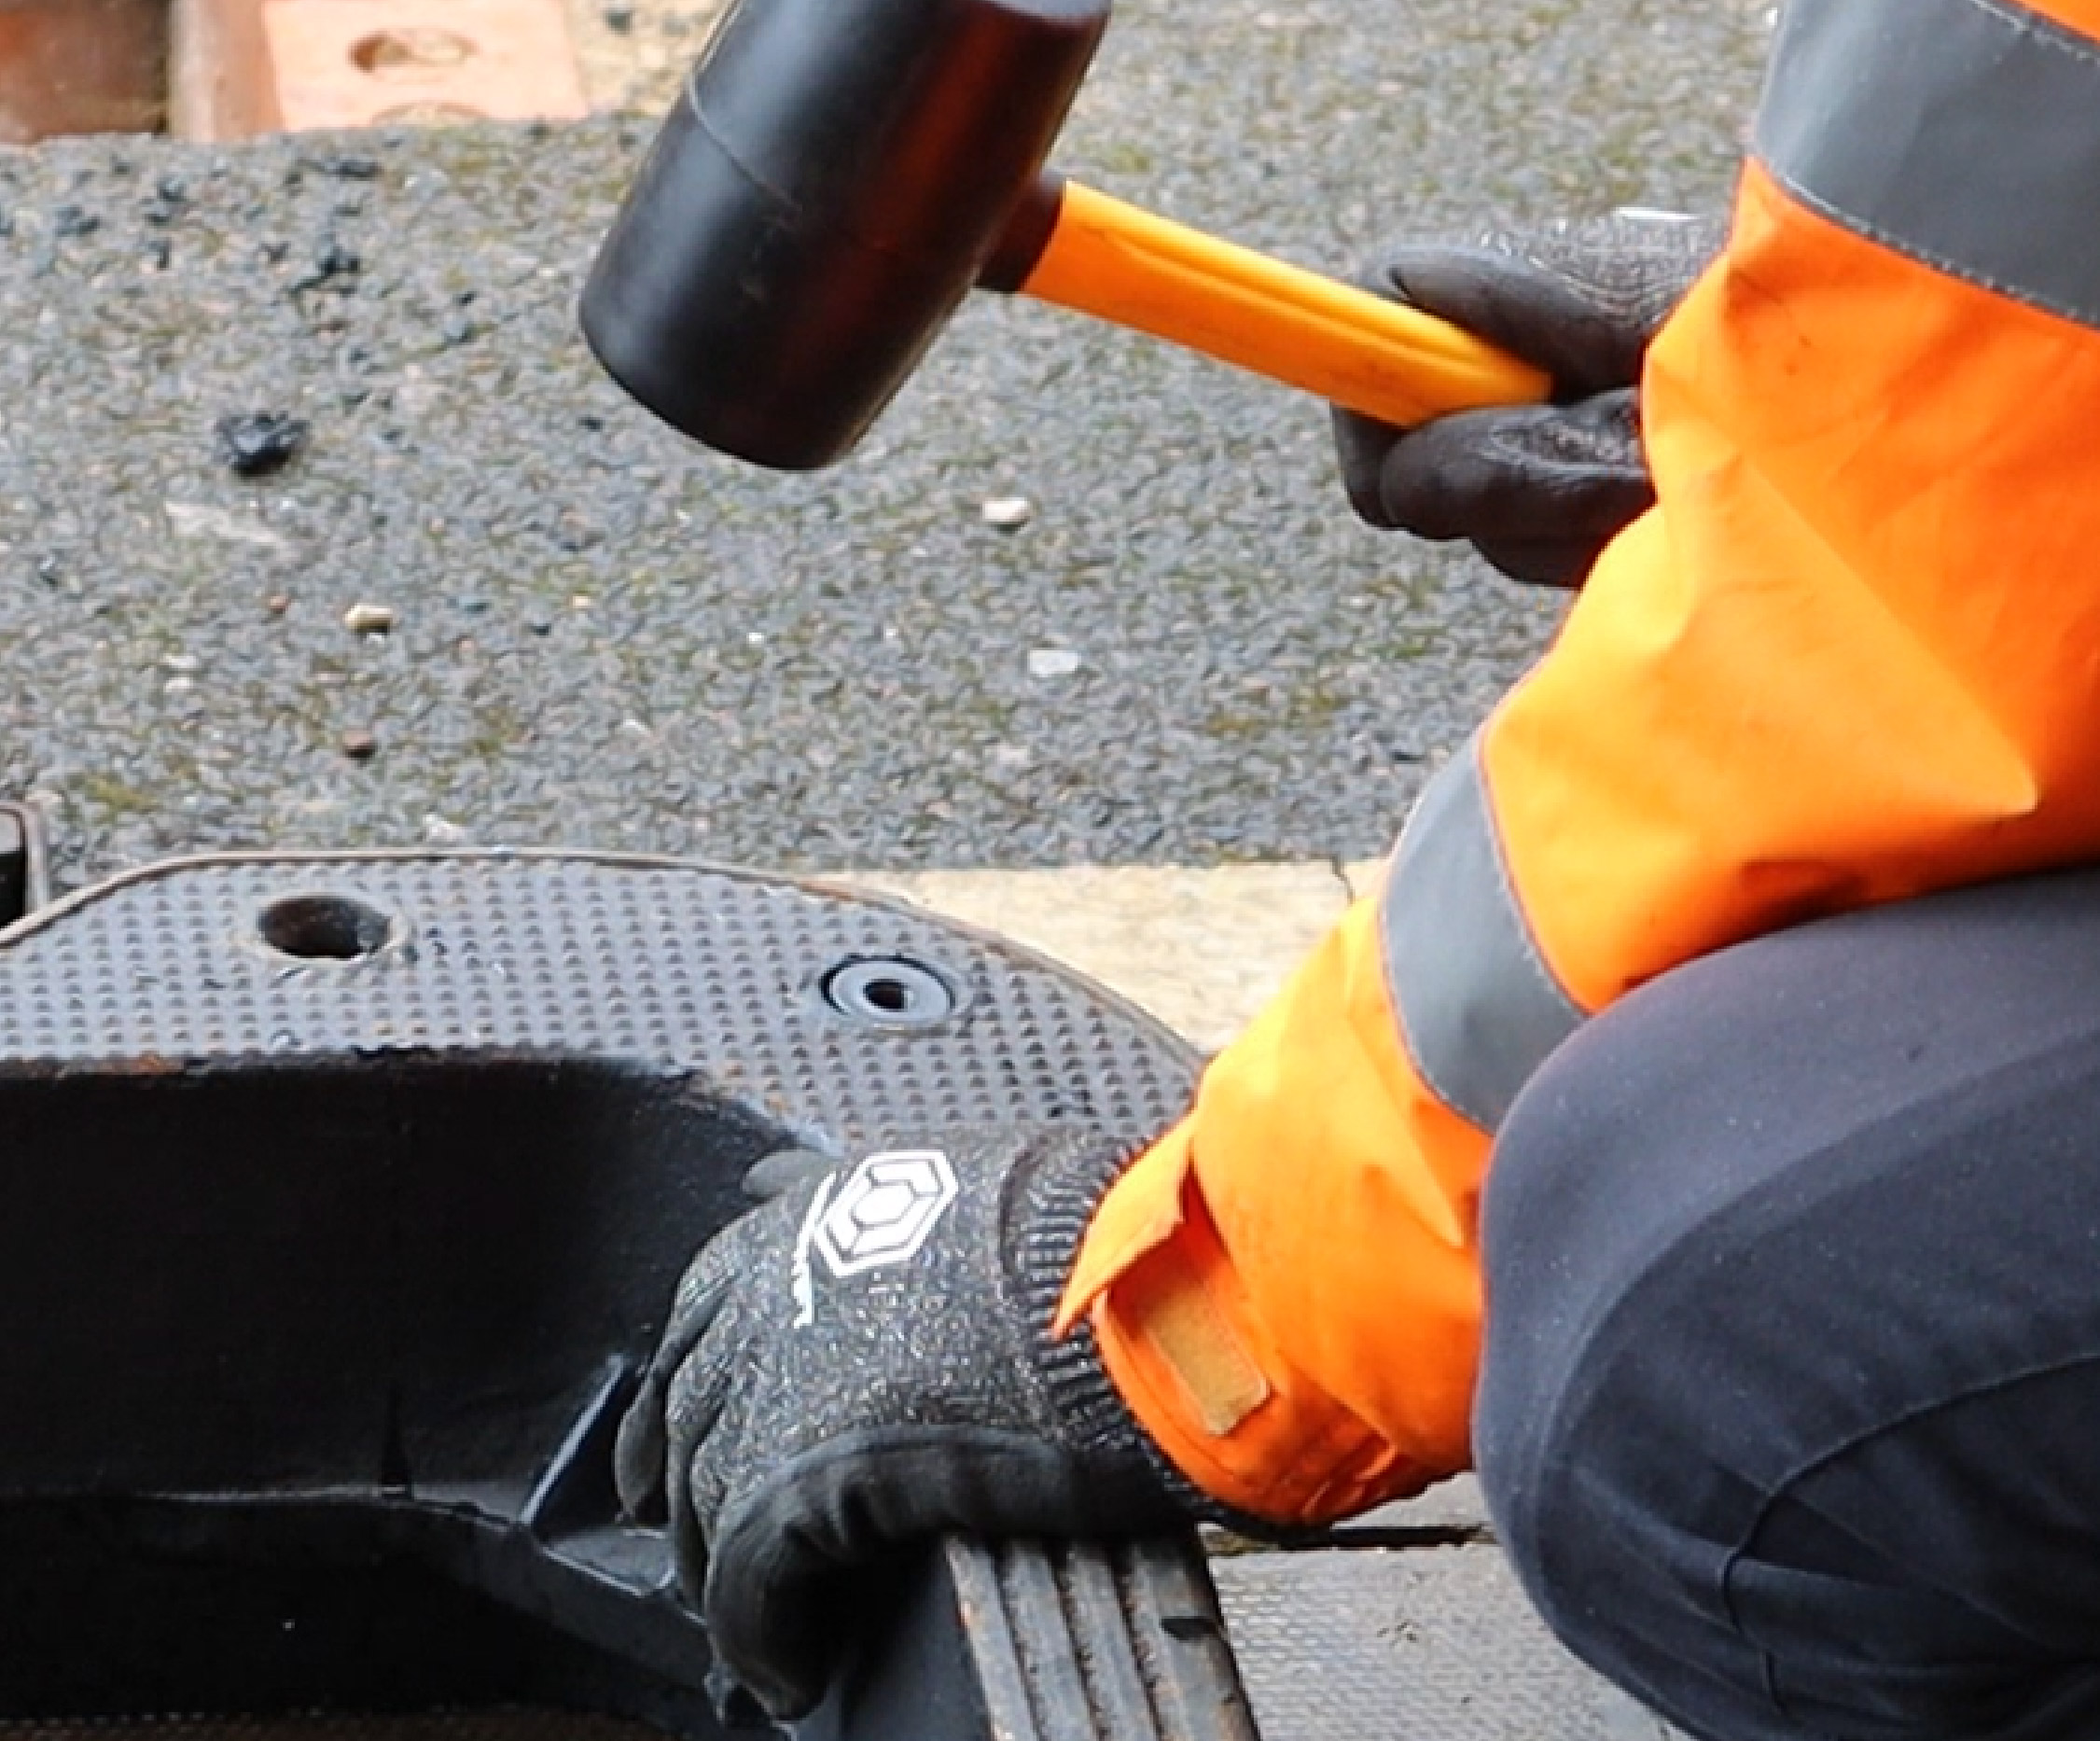
Step 4 - Frame height adjustmentPlace the frame into position and adjust the levelling screws into each bush from the top. Alternatively, Uniform height adjustment wedges can be used. 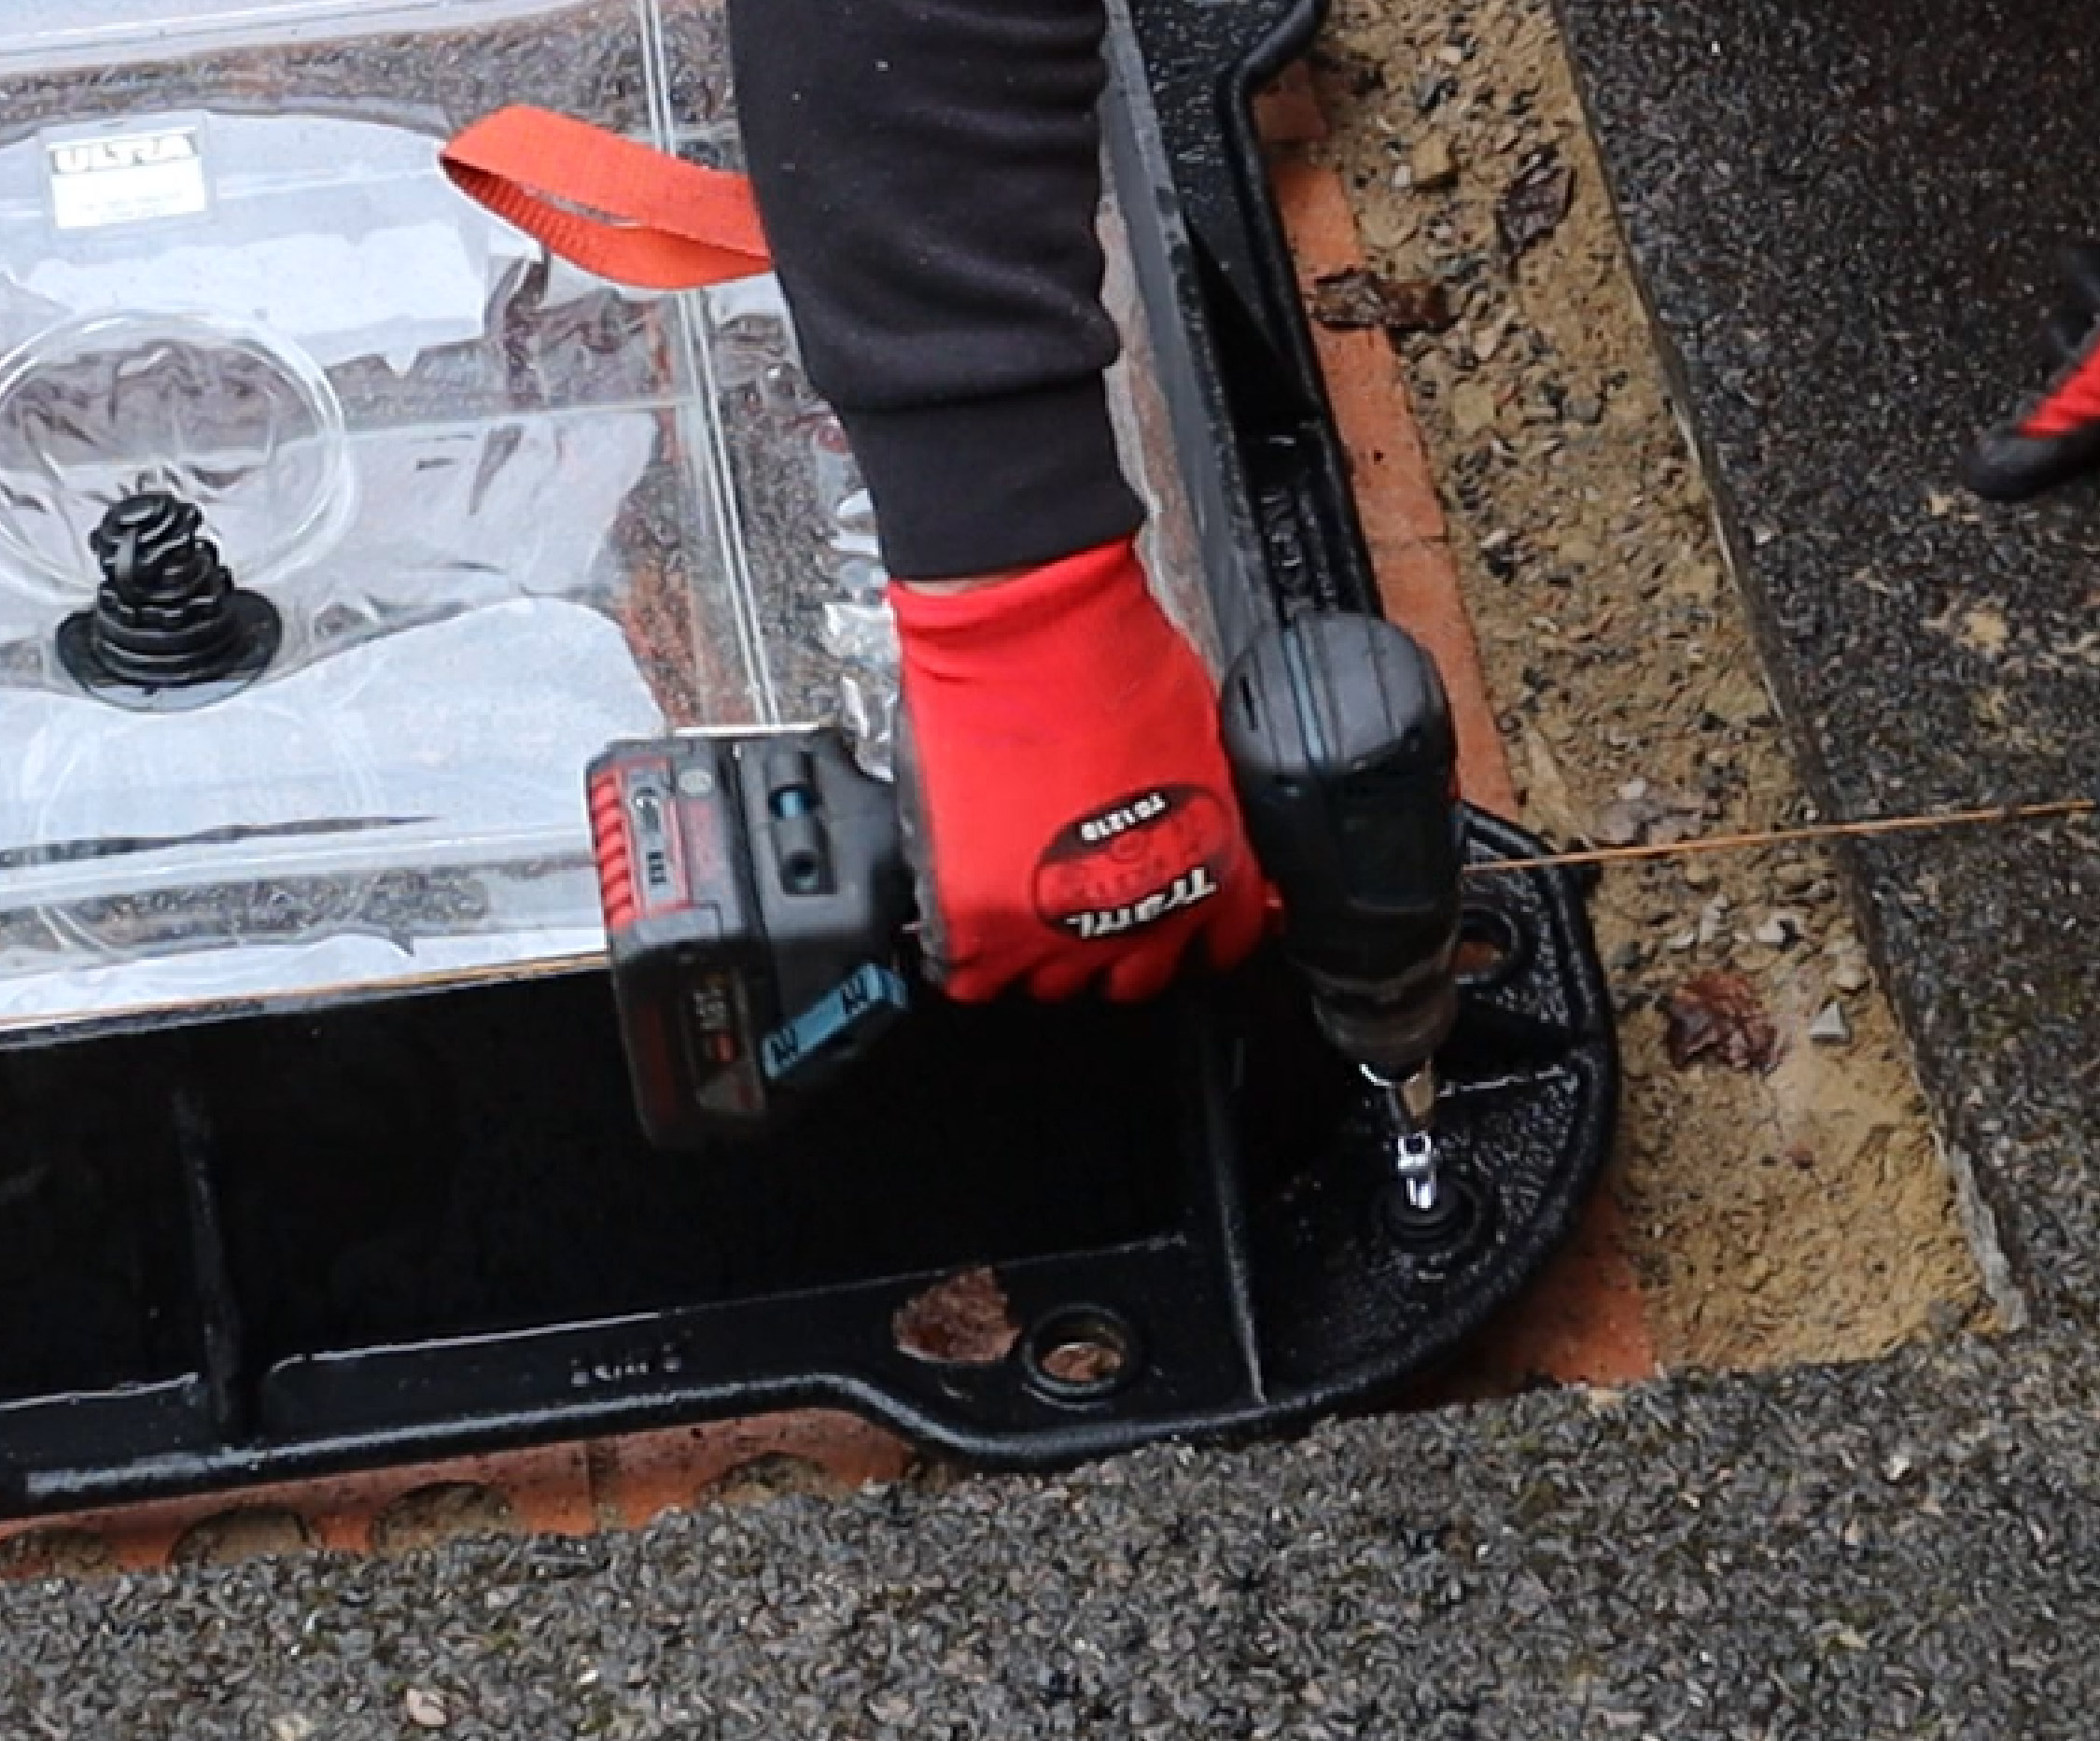
Step 5 - LevelUsing a spirit level or straight edge on top of the frame, wind down the screws to achieve the correct level to the surrounding road surface. Use a bedding material or an inflatable product such as a Mortar Buoy to create a dam on the inside of the chamber between the frame and the brickwork. 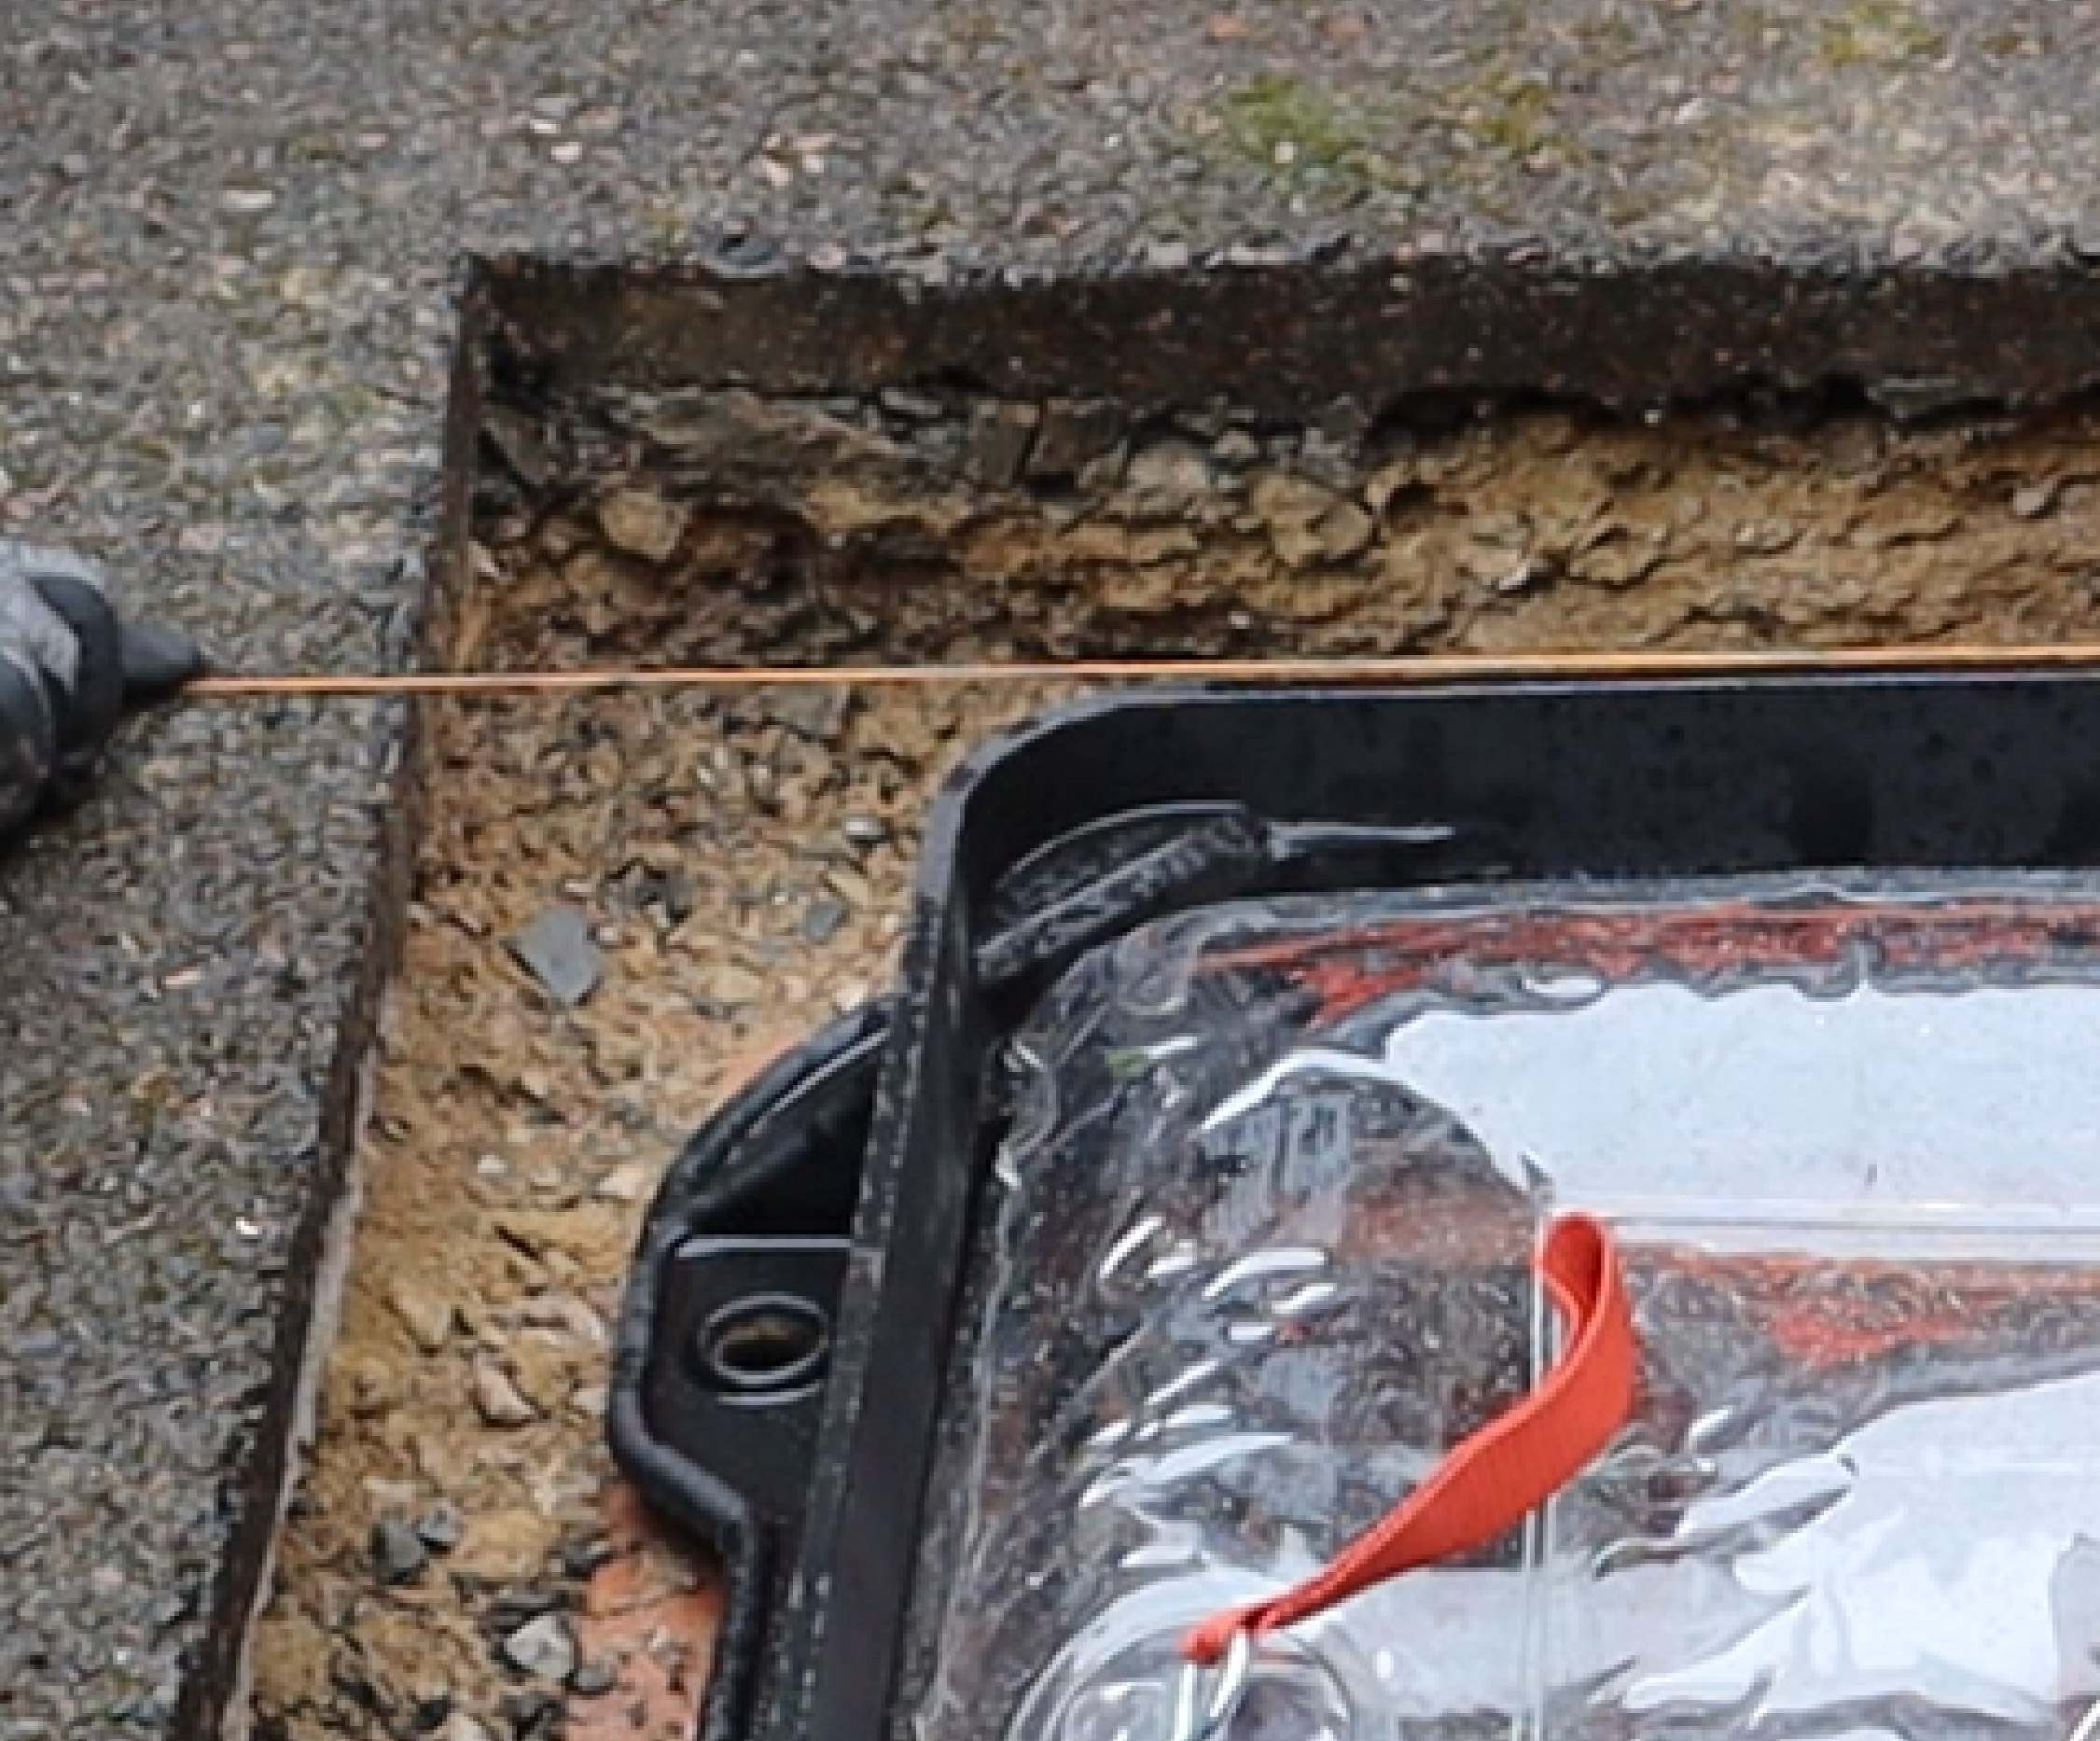
Step 6 - FillMix flowable mortar as per the manufacturer's instructions and fill around the outside of the ironwork up to the line indicated on the label, which can be found on all our ductile iron products. 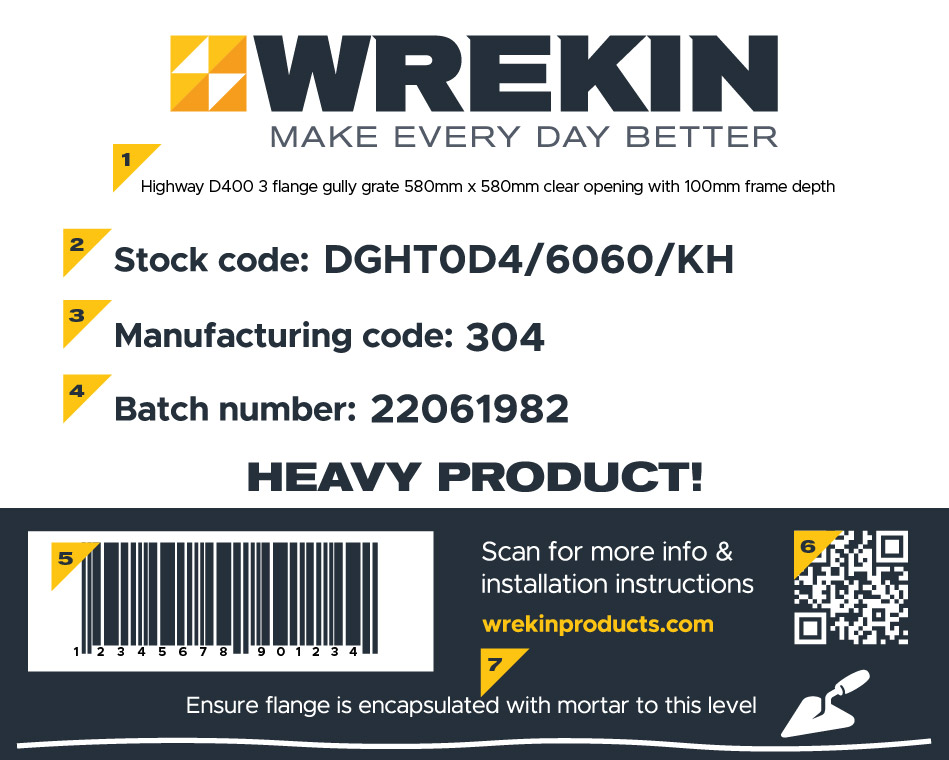
Step 7 - Seal
Before backfilling with proprietary road fill materials, heavily coat the outside face of the frame and the inside face of the road surface with a suitable bitumen-based cold joint sealer and ensure that the bedding mortar has cured Note: The application of a cold joint sealer to the vertical face of the frame is particularly important if the frame is to be located in a concrete road or pavement. 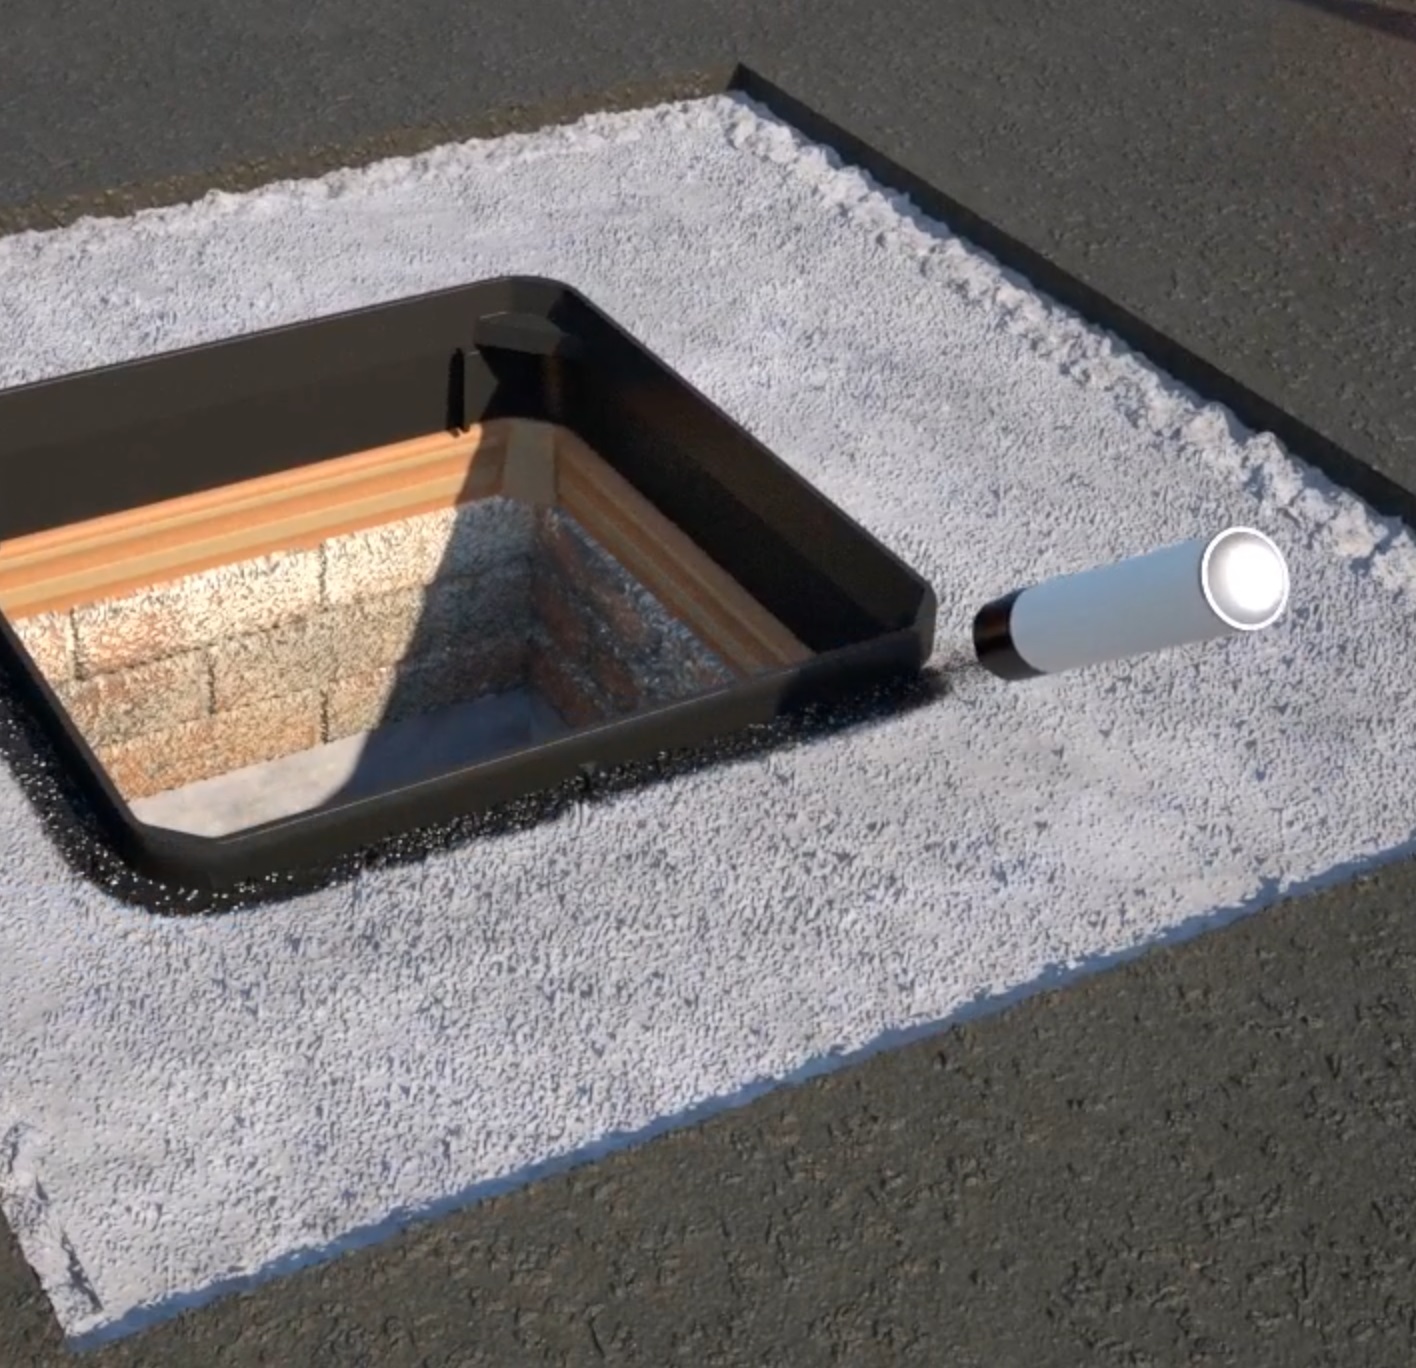
Step 8 - Surface
Install the remaining road fill and wearing course/pavement materials. Take care not to disturb the frame, particularly where mechanical equipment is employed. Note: Materials suitable for backfilling and road surface repair of the access cover or gully grating frame (already fixed in place with polyester resin mortar) should hold HAPAS/BBA approvals, where available 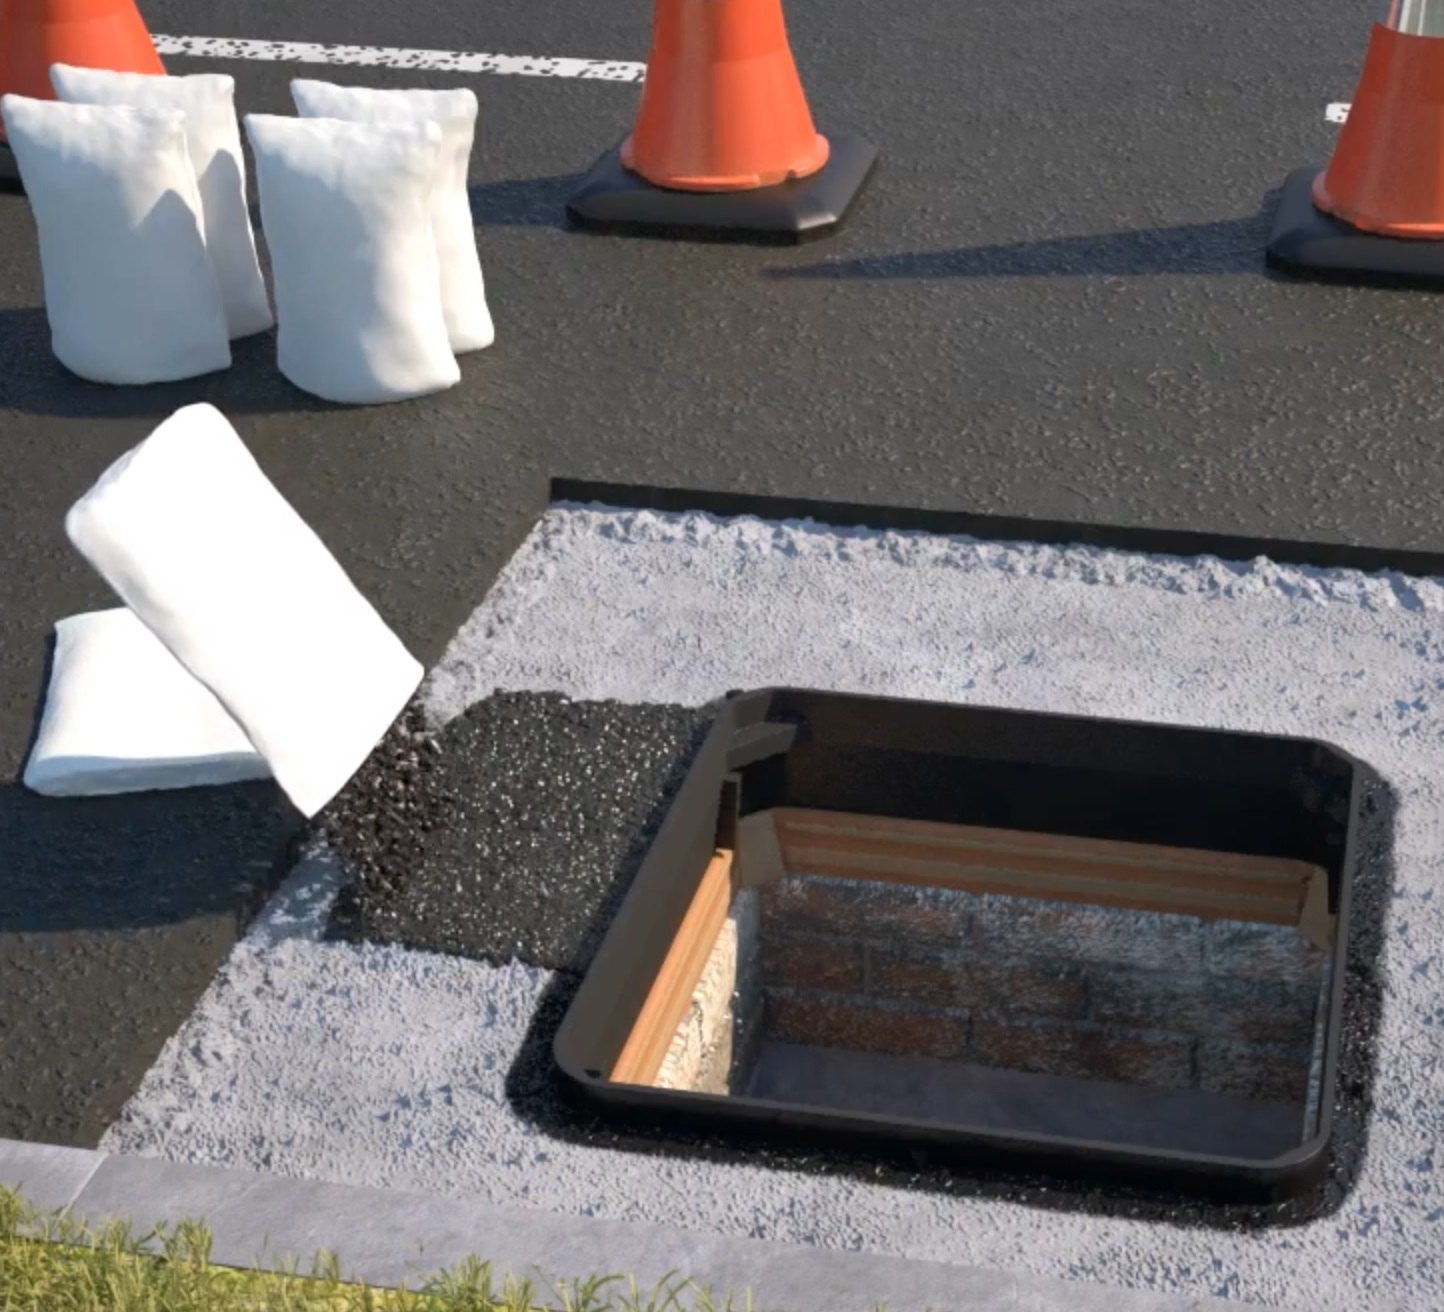
Step 9 - Complete
Apply overbanding to the join between the new surfacing material and the existing surface. It's important to cover any saw cuts that extend beyond the reinstated area in accordance with manufacturer's instructions. Attention: Ensure that trafficking of the finished installation does not occur before the bedding mortar and surrounding surfacing materials have fully cured. Overbanding is applicable to bitumen-based road surfacing only, not concrete pavements or similar. 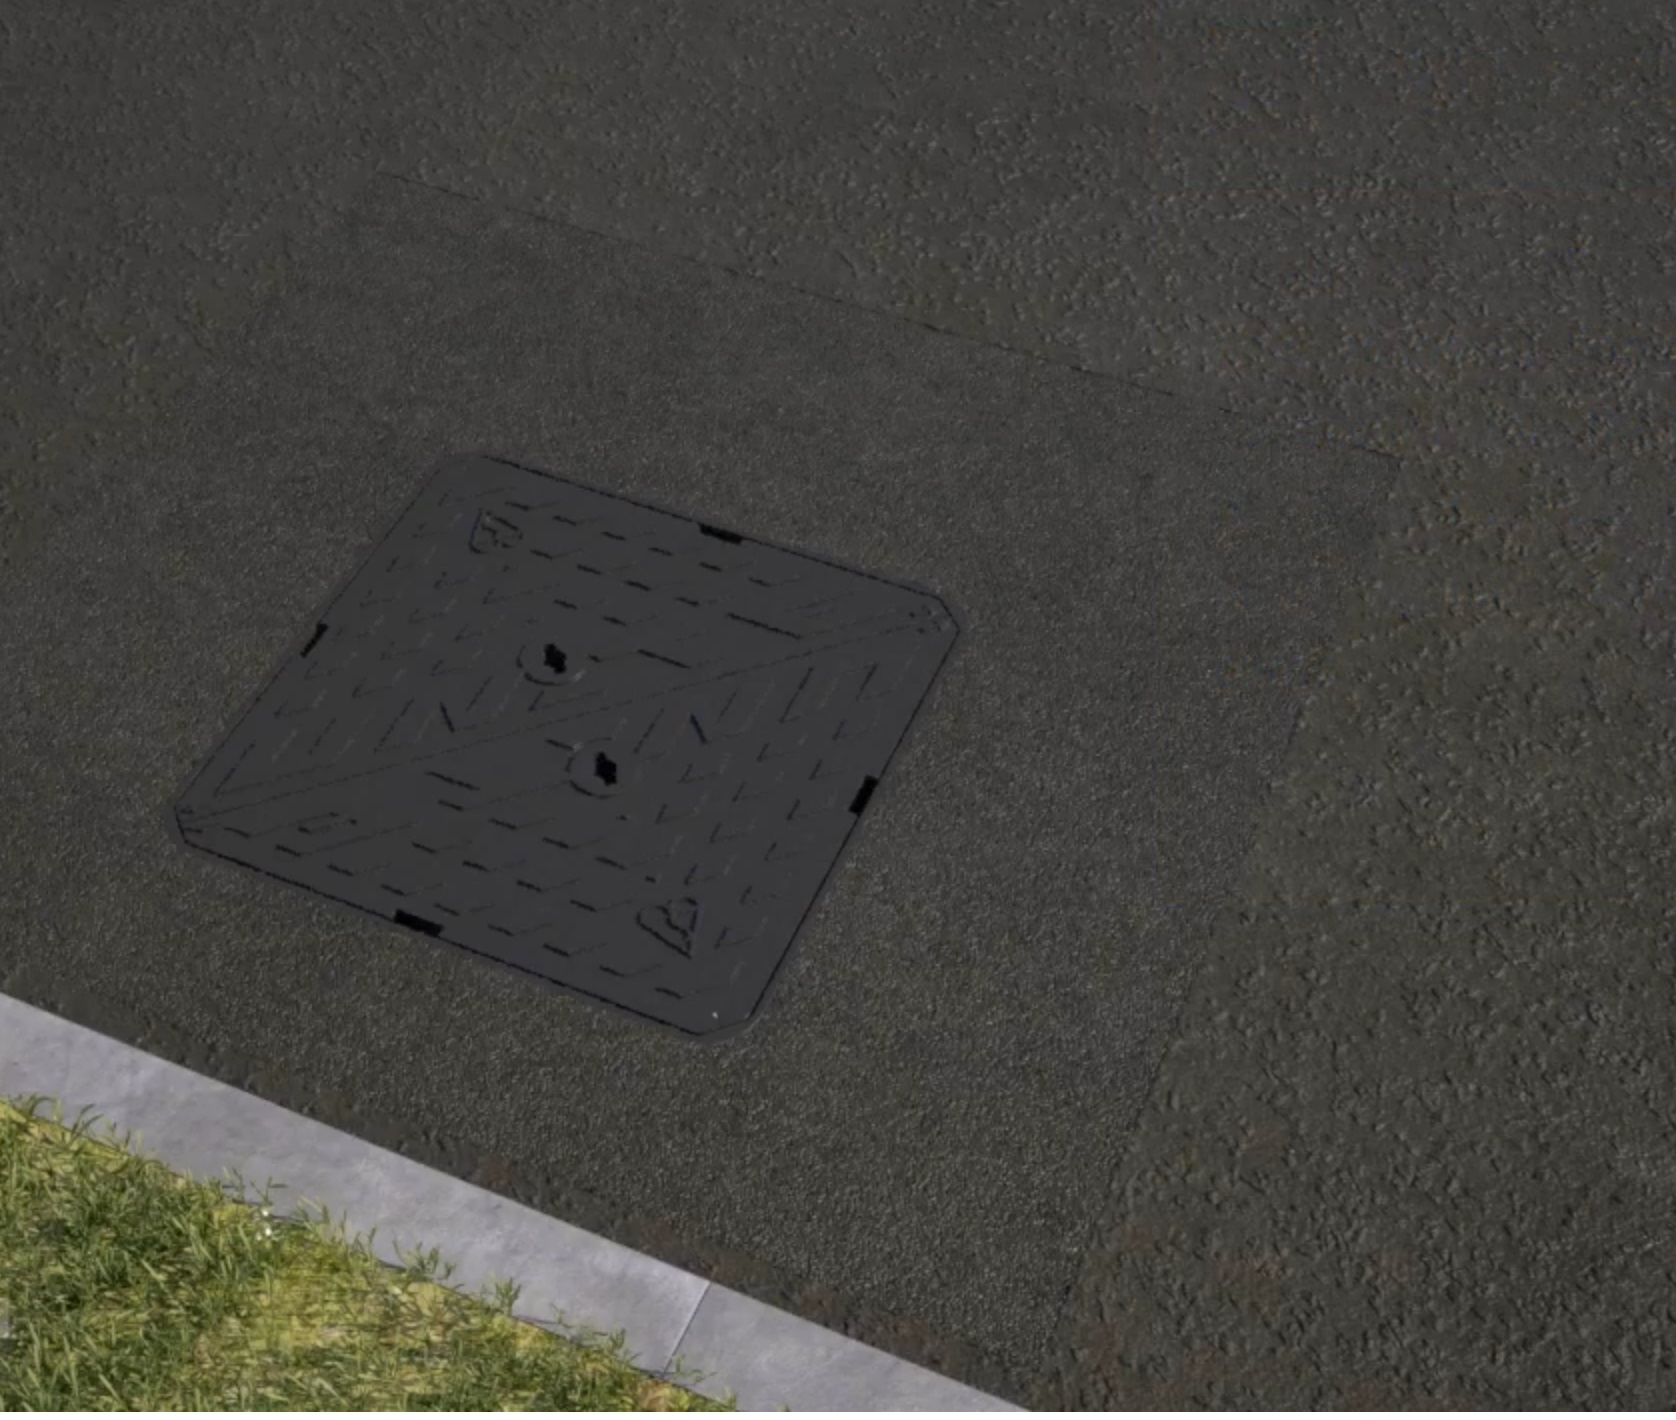
Step 10 - ProtectIn situations where the final wearing course is to be installed at a later date, apply a ramp around the projecting frame to ensure public safety and protect the frame from impact. Attention: Ensure that trafficking of the finished installation does not occur before the bedding mortar and surrounding materials have fully cured. Related pages |

